The reason is also that I bought those really bad books for the previous DIY and I need to 'kill' them :)
I figured out another DIY that was possible with those book pages and I had another foam wreather, a smaller one (and may I say thank god it was a smaller one!). This DIY took a loooot of time and I really didn't think it would take so long. Or is it that I'm really slow?
Anyway, for this rose wreath, you will need:
PS: Millions of glue sticks ... I should have precise ! (at least 35). Those glue sticks are sold for 12 pieces at 2,95 Euros at Clas Ohlson!
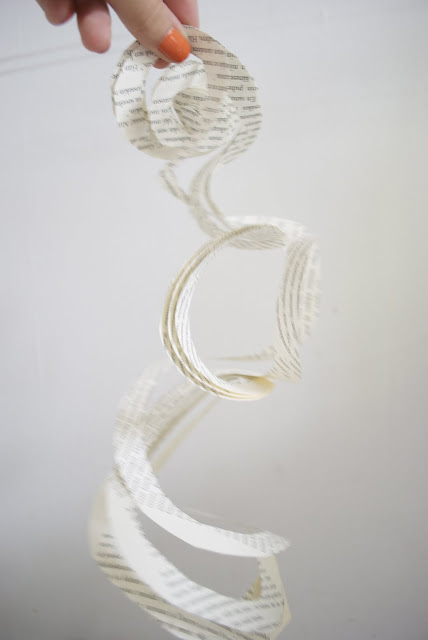
In order to start building your roses, you will need to draw a spiral on your book pages, just like this:
You then need to cut that spirale and it will be the base of your rose.
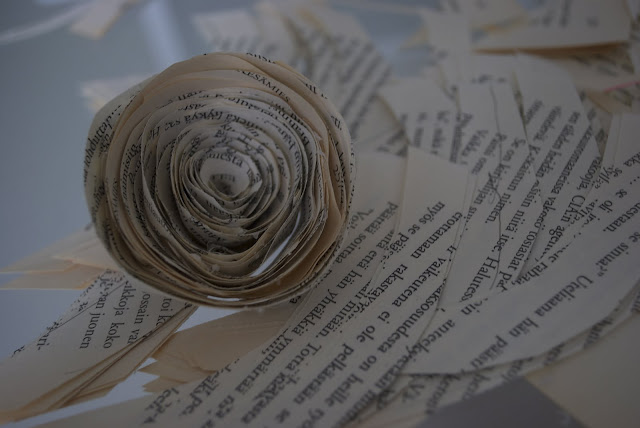
You then just need to turn it around and, you will get this:
I figured out that sticking a little base of paper on the bottom of your rose allow it to stay together and it's easier for you to attach other paper pieces after.
Then only need to cut more pieces of paper in a half-circle shape to complete your rose. You can continue to attach those pieces as much as you want depending on the kind of rose you want to get. One advise, cut those pieces in the vertical way of the book pages, so that you get longer pieces and you can build your roses faster! (something I didn't think about, it might go super fast with newspaper pages...)
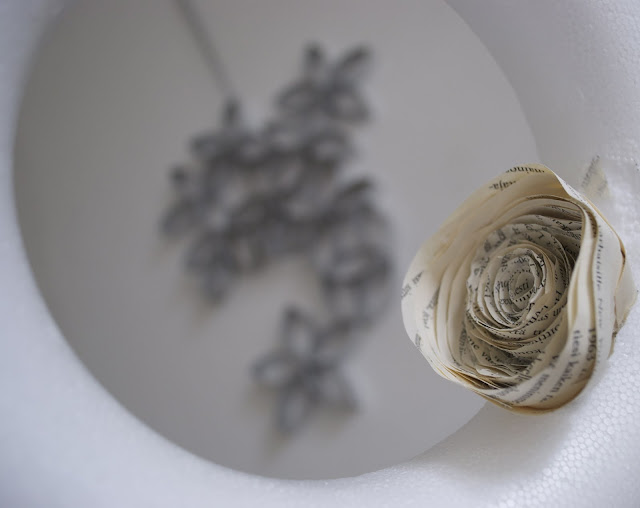
And then when you are finished with one rose, you can start sticking it to your foam wreath!
As a results and after millions of glue sticks, and several burnt fingers, you should get something like this:
What do you think of the result? Do you like it? I think it might look nice on your door or something like that.
Fr: Encore un petit projet a faire chez soi, ou devrais-je dire un grand projet. Je pensais que cette petite couronne de rose n'allait pas me prendre beaucoup de temps, mais detrompez-vous, ce n'est pas si rapide que cela! Bref, pour ce projet vous avez besoin de:
- une couronne en polyester (la taille de votre choix)
- un pistolet a colle
- énormément de tubes de colle (dans les 35 approximativement)
- des ciseaux
- et des vieux bouquins
Vous devez commencer par dessiner une spirale sur vos pages de livre et ensuite la découper. Prenez plusieurs pages en même temps, sinon vous ne finirez jamais! Ensuite tournez la spirale sur elle même, ce qui vous donnera la base de votre rose. (Petit conseil, collez un petit bout de papier en dessous de votre base pour que le milieu de la rose ne parte pas pendant que vous attachez d'autres bouts dessus). Ensuite, coupez des bouts de livre en forme de demi cercle (en longueur, ca ira plus vite) et ajoutez les sur votre base. Comme je l'ai dit plus haut en Anglais, je ne me suis pas rendue compte tout de suite que ce petit projet irait beaucoup plus vite avec des journaux ... enfin ... Continuez jusqu'à atteindre la taille de rose que vous souhaitez. Vous n'avez plus qu'a coller votre rose sur la couronne en polyester. Encore une fois, commencez par l'intérieur, ca vous facilitera la vie! Bonne chance pour les différentes couches de roses! PS: Préparez vous a vous bruler les doigts!!!
Si le tutorial n'est pas clair, n'hesitez pas a me poser des questions!


Definitely interested in making one of these bad babies for the front door! I love it! I'm just short on old books. More DIY coming soon?
ReplyDelete-Jen
Thanks Jen! Glad you like those wreath!!! You should check sometimes in front of Sokos, some girls have a booth and sell their old books. 3 books for 1 Euro! Or otherwise, you should check on flea markets :) And I'll let my fingers rest a little bit because they got burnt by the glue gun ;) but sure more DIY coming up !!!
ReplyDeleteOh! This is so wonderful and romantic!!!!
ReplyDeleteYou are so good ;) But are you a designer?
oohh:) c'est tres fabuleux:*
ReplyDeleteXoXo:)
WWW.ANOBANOOO.BLOGSPOT.COM
Vally: thanks a lot! glad to see you like it. I was also happily surprised of the romantic side of the result! It's very easy to do, you'll see (no need to be a designer, which I am not :), but it just takes little time! Im just loving those DIY projects!
ReplyDeleteAnoBanO: Merci beaucoup! More DIY and Fashion DIY coming soon!
Greetings both!